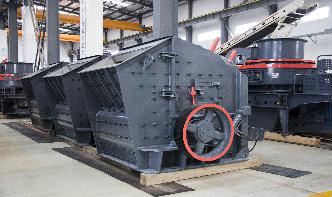
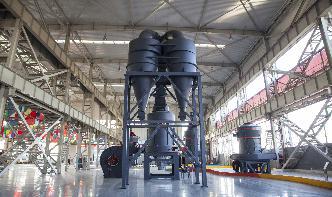
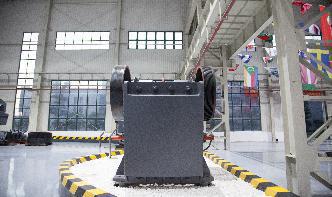
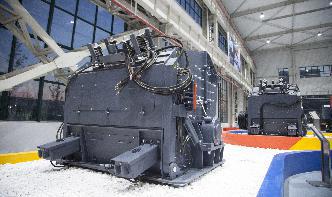
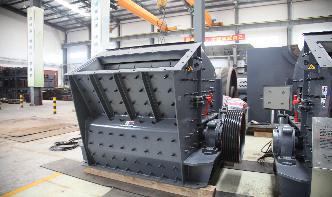
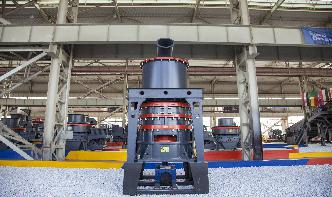
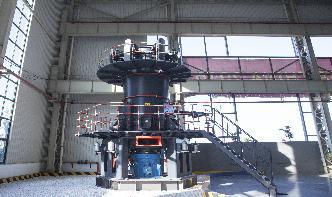
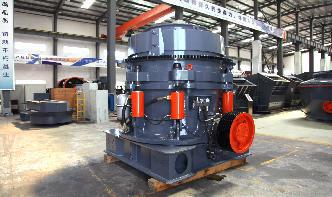
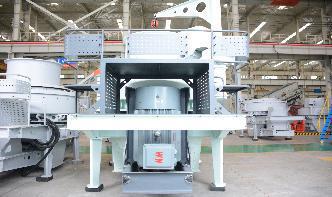
Spring Cone Broken 1750 Drive Shaft Installation
cooling tower parts alog and reference guide
12" Diameter 1750 3500 14" Diameter 2350 4700 16" Diameter 3000 6000 18" Diameter 4000 8000 20" Diameter 5000 10000 The valve closure disc has a machined lip which closes on a heavy neoprene gasket, avoiding maintenance of expensive metal seats. In a shutoff position, the stem and yoke are external to the water, eliminating the necessity
How To: Replace Paddle Wheel
drive shaft. Make sure that the and male parts on the paddle wheel and cone burr align. 9) Place the washers that we previously removed from the main drive gear and place them back onto the drive shaft. Then place the main drive gear back onto the shaft. Make sure that the hexagonal piece on the drive shaft slides back into the gear. Having
How to Fix a Garage Door Spring (with Pictures)
· Install the center bearing and the right spring, then secure the cones. Slide the torsion bar to the left then add the center bearing. Slide the right spring onto the bar and press the bearing into the stationary cone. Connect both of the stationary cones to the center bracket with the nuts and bolts you removed previously.
How To Repair A Variable Speed Pulley On A ...
There is a drive belt that operates the mower blades. You will have to pull this off. There may also be a secondary belt, depending on how many blades your mower has. Step Five: Detach the Springs. There are multiple tension springs that connect the cutting deck rod to the rest of the piece. You may have to use pliers to unhook these pieces.
How to Replace Garage Door Torsion Springs
If you have a slotted spring bracket, use your vise grips on the spring anchor bracket to keep the shaft from falling out. Take the bushing out of the torsion cone and leave it near the center spring bracket on the shaft. Slide each one of your torsion springs on the shaft above your garage door in the direction of your cable drums.
Replacement parts to fit MASSEY FERGUSON
Spring, 110 Brush, Alternator, 106 Brush, Generator, 104 Bulb, Light, 106 to 107 Bumper Bracket, 187 Bumper, Front, 187 Bushing Carburetor Throttle Shaft, 74 Clutch Shaft, 118 Combine Slip Clutch, 175 Corn Head, 172 Front Axle Pivot, 131 Hydraulic Pump, 153 Hydraulic Pump Drive Plate, 158 Link Pin Adaptor, 145, 148 Spindle, 137 Steering Shaft, 128
Manual
Drive Plate Thickness Driven Plate Thickness Spring Free Ixngth Piston Diameter Piston Width BRAKE Plate Plate Plate Thickness Friction Disc Friction Disc Friction Disc Thickness Piston Piston Width Housing Cone Head Screw Torque OUTPUT SHAFT Shaft Speed at Engine Speed of 2400 rpm Shaft Rotation Shaft Size
JD200SeriesServiceManual
· Install shoulder bolt and tighten securely, Fig. 29. Fig. 37Connecting Speed Control Link Connect speed control link with spring locking pin, Fig. 37. fig. 38/nstal/ing Variator Spring Attach variator spring to variator and eyebolt and tighten eyebolt for desired tension, Fig. 38. Reinstall battery base and battery. Reinstall belts on variator.
INSTALLATION MANUAL
PythonDrive INSTALLATION MANUAL 2 90º 90º 2017 For the models ranging from P30R up to P1500G For units supplied by manufacturer after January 2007 May we take this opportunity to thank you for purchasing a PythonDrive flexible drive shaft assembly.
Replacing a Freehub Body on a Rear Bicycle Wheel. : 9 ...
Replacing a Freehub Body on a Rear Bicycle Wheel.: I am learning more about bicycle maintenance by practicing on my own bike. Last night my bike broke, I was pedaling, but the bike wasn't moving! We soon realized that the ratchet mechanism in the rear wheel was broken. So... Time to learn .
FUNDAMENTALS OF FLUID MECHANICS Chapter 12 Pumps and .
shaft =−m 1(r 1Vθ1) +m 2(r 2Vθ2) Euler turbomachine equation (2) Euler turbomachine equation: the shaft torque is directly proportional to the mass flowrate. The torque also depends on the tangential component of the absolute velocity, Vθ.
HarleyDavidson
Install shaft extension with the flat side against alternator rotor. 10. The outer diameters of the springs must contact each other as shown in Figure 5. 11. Install the sliding cam (5) with the flat face contacting the small disc spring. Lubrie the sliding cam ramps with primary chaincase oil.

Variable Speed Drives
Variable speed belt drives achieve the versatility needed to maximize appliion efficiency and productivity while remaining an inexpensive solution. In the most typical installation, a belt connects a variable speed pulley to a driven sheave. The pulley is mounted on .
Handling shaft deflection, runout, vibration, axial motion
tests typically have shaft runout in the range of ≤ " ( mm) 1 The basis for this statement is a lowpressure seal test that was run in the 1,750 to 2,750 rpm range (902 to 1,418 ft/min) with " runout, compared to a test that was run with " runout. 2
PSS Shaft Seal Installation Photo Gallery by Compass ...
The coupling has broken free and is beginning to come off through the tightening of the bolts. ... When reinstalling the shaft you should get it started with the machined in "lead" then lightly tap it home with either a rubber mallet, ... This is a photo of the clamp collar in use on a vdrive installation. 09MAR04.
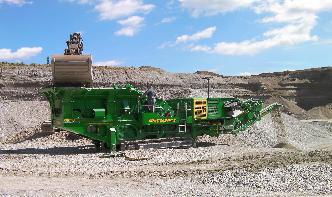
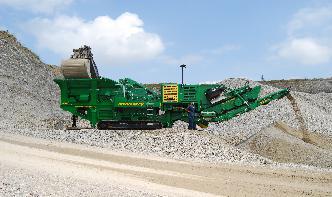
Aggregate Training Center, Aggregate Training Classes Michigan
Aggregate Training Center, Aggregate Training Classes Michigan. Register now at Courses take place at AIS Construction Equipment Lansing Branch. 3600 N. Grand River Ave. Lansing, MI 48906.

cv joint
Damaged axle spline. Bookmark this question. Show activity on this post. Because my car made some weird noises I decided to replace the matching CV joint. After removing it (I needed several sharp hammer blows) I discovered that the spline of the axle shaft was damaged. The incision in the axle is needed for a matching clip to hold the CV joint.
Garage Door Repair Installation | Santa Clarita, CA
Broken Spring Replacement . Santa Clarita, CA. Garage Door Torsion Spring Repair Counterbalance system includes one or two closely wound springs up on a steel shaft with cable drums at both ends. The springs consist of the steel wire with a winding cone at the other end and a fixed cone at one end. The fixed cone is attached to the center ...
Yamaha F100A Handbücher | ManualsLib
Anleitungen und Benutzerhandbücher für Yamaha F100A. Wir haben 3 Yamaha F100A Anleitungen zum kostenlosen PDFDownload zur Verfügung: Wartungshandbuch, Betriebsanleitung, Ergänzung Zur Wartungsanleitung
Lark Products – Duct Accessories | Home
1/2″ Flush Cone #1734: 12mm Flush Cone #1731: 1/2″ Extended Cone #1735: 12mm Extended Cone: ... Access Panel Latches Spring Loaded. Product Description. View Order Form. Product Sizes and Dimensional Data . Item Code Size #1852: ... Model 6700 Premium Drive Shaft Assembly Kit; Nonreturn Damper. Model 3100 NonReturn Damper; Kilargo ...

Top Drive in Drilling Components, Pros Maintenance Steps ...
· The top drive has many advantages that help better its functions during the drilling involving safety and efficient way of drilling and are enlisted below: In top drive system, it is capable to drill with three drill pipes at a time instead of a single drill pipe in conventional Kelly system. Easy installation on any mast or .
WHEEL BALANCER parts by BRAND of balancer
OEM Style 40mm WINGNUT. . OEM Style CLAMPING NUT for SOME Coats Wheel Balancers with 40mm shaft. Fits Coats brand models 775, 875, 1175, and 6275HS with the 40mm x 8mm shaft. Fits Coats BASELINE brand Wheel Balancers. OEM .
N Neeww IIddeeaa
4. Press new shaft into roll, aligning the two lower holes in stub shaft with lower hole in snapping roll, pushing the stub ahead of it into the roll, stop at measured distance determined in Step 1. 5. Drill a hole through trunnion for drive pin" then install a new drive pin. 6. Install lower nose cone so the spiral is .